


Before and After Photos
Real patient results from our expert procedures
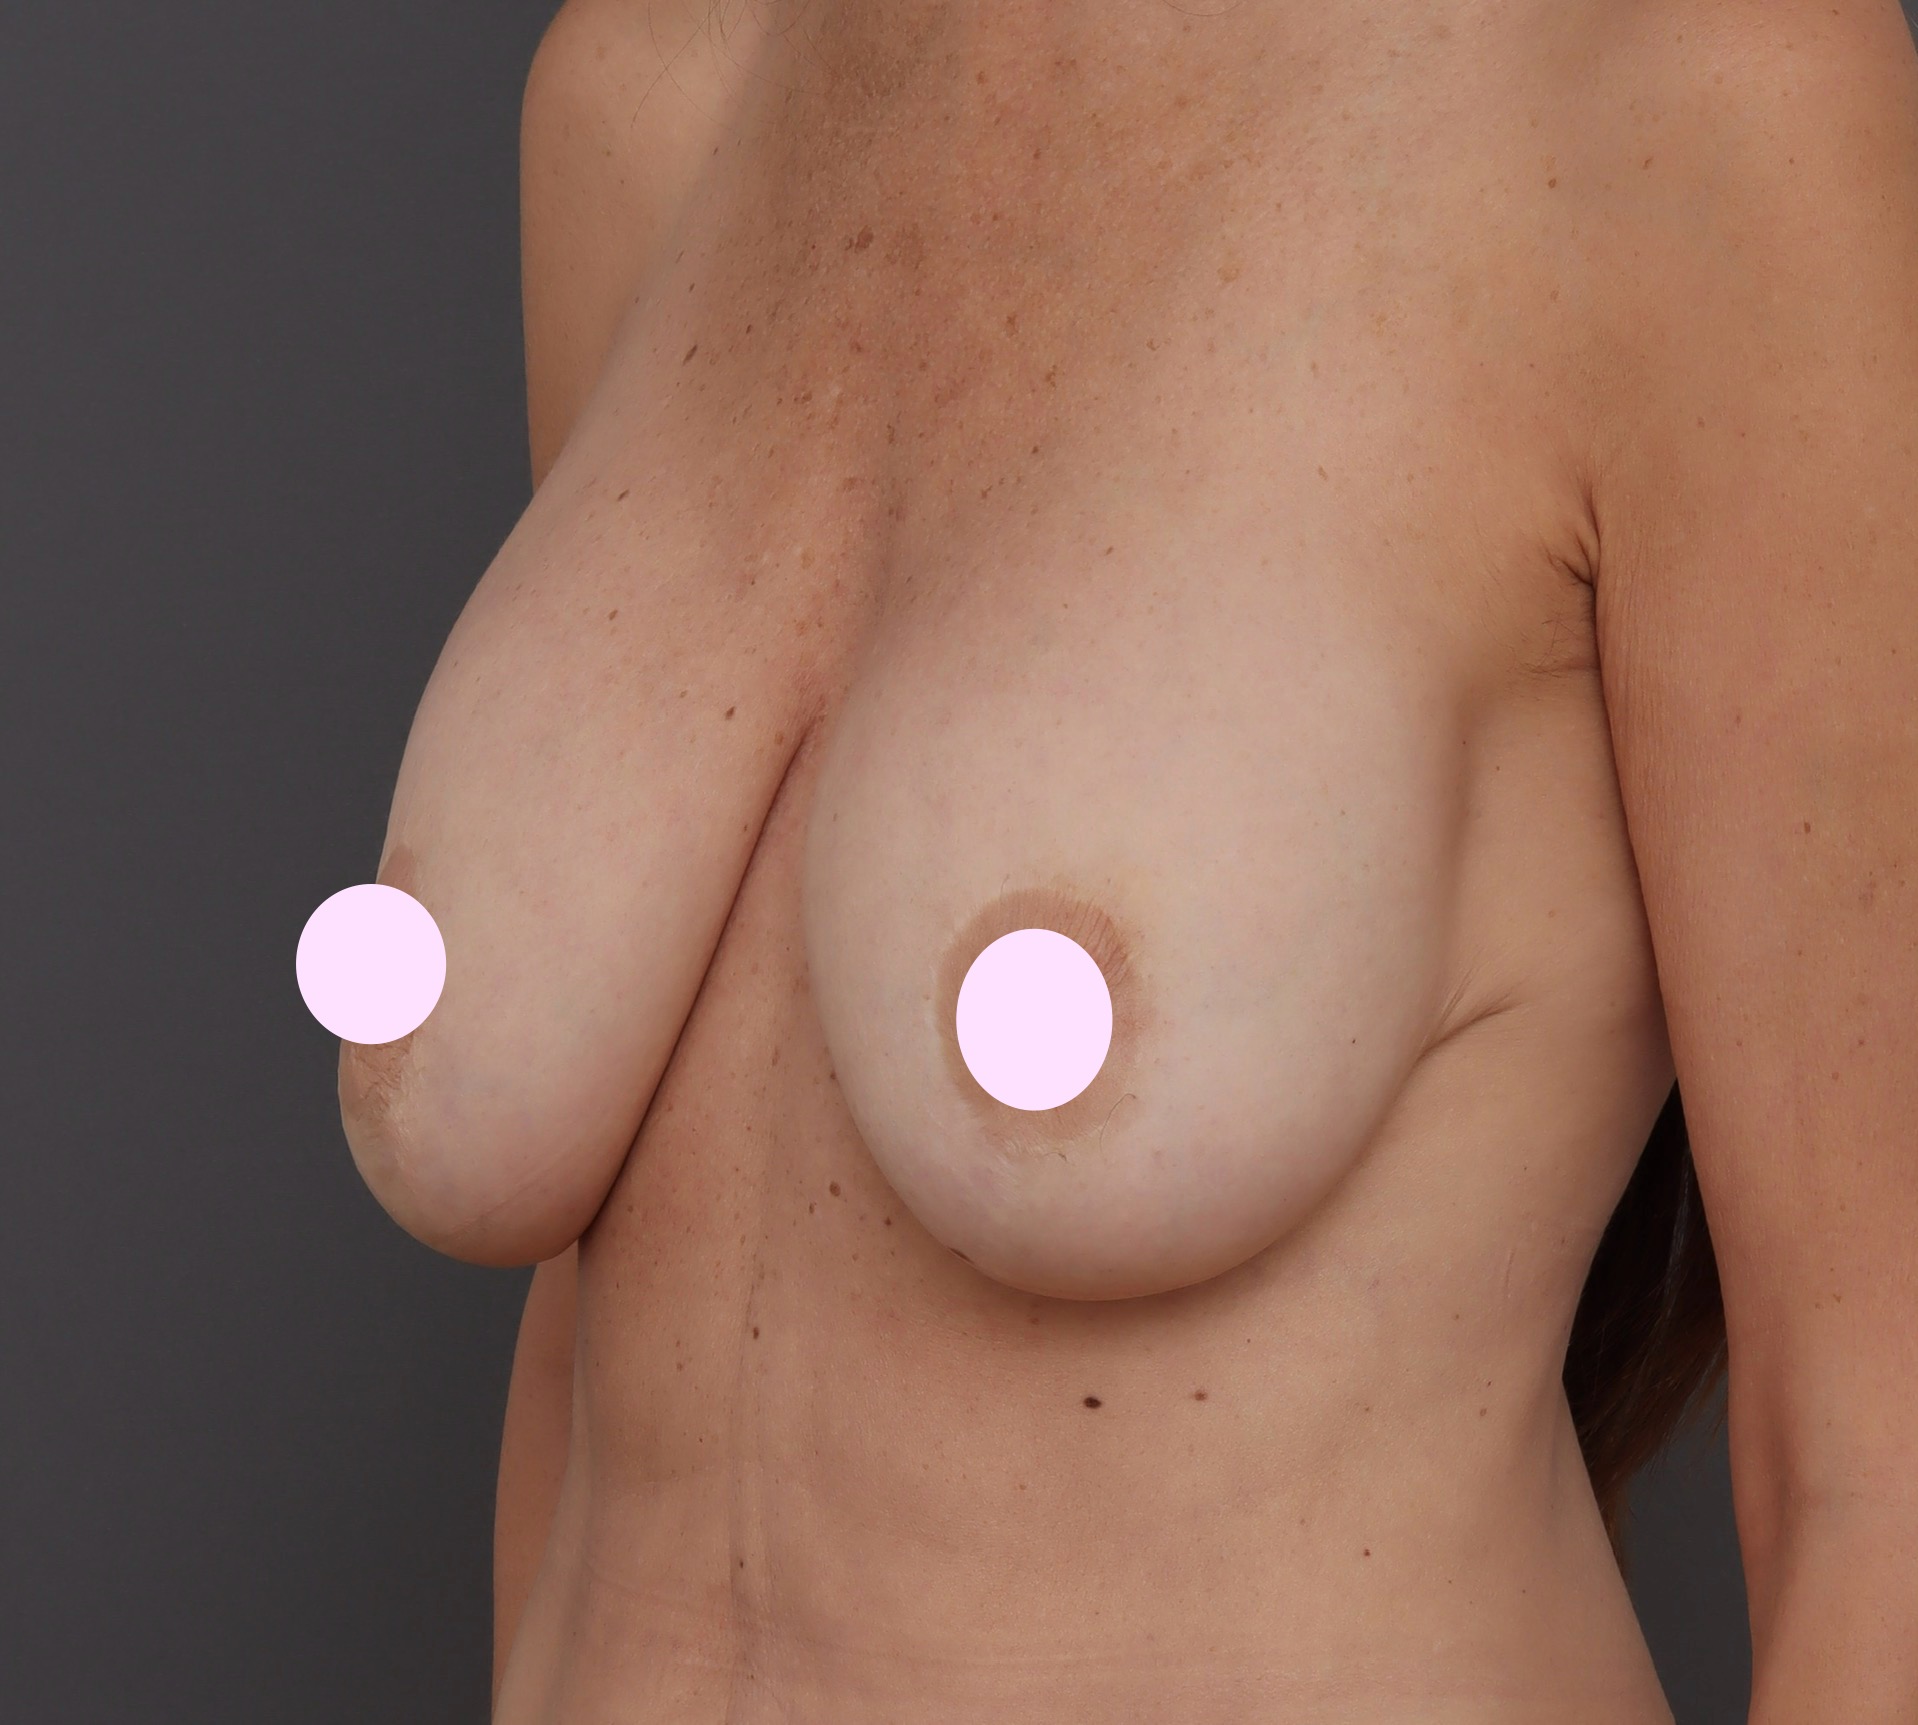 Before
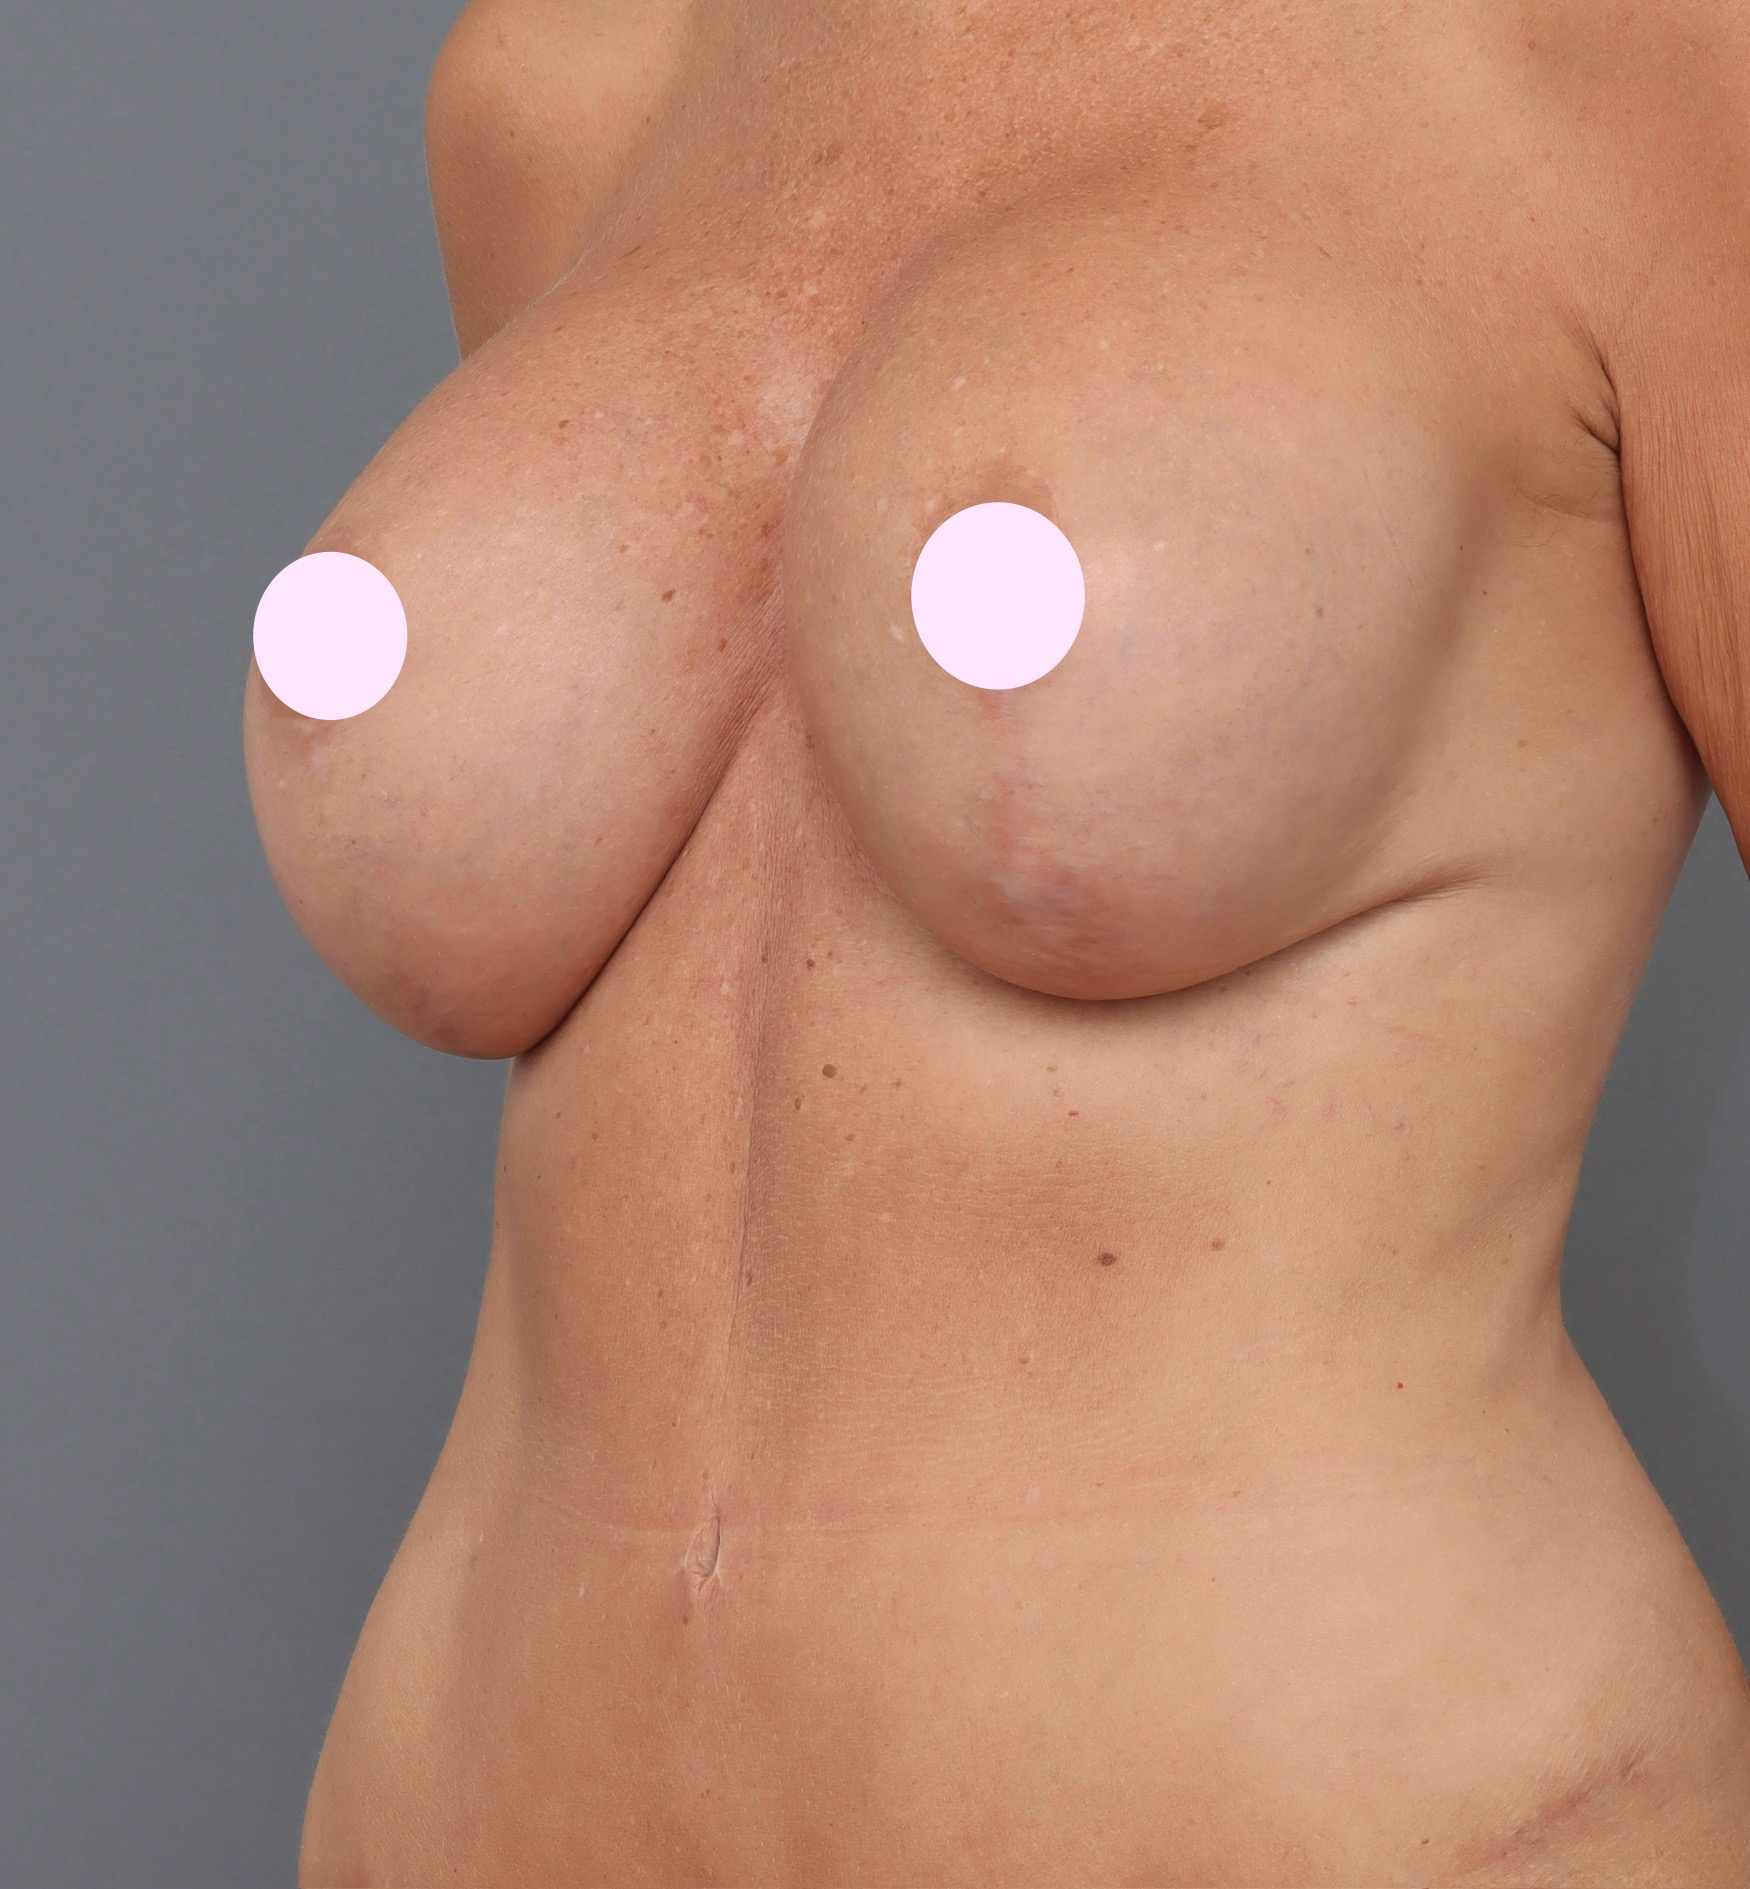 After
After
An Augmentation Mastopexy is a procedure that combines a mastopexy with breast augmentation using implants. This combined approach may be considered for individuals who wish to address both a change in breast position and a loss of volume.
With age, weight fluctuations, pregnancy, or breastfeeding, some individuals may notice changes in the shape and position of their breasts. A common concern is breast ptosis, a condition where the breast tissue and nipple sit lower on the chest wall than desired.
The key consideration when planning this procedure is the position of the nipple in relation to the breast tissue. In some cases, the breast tissue may sit in the lower part of the breast, and the nipple may point downward or sit below the breast fold. This may create an elongated appearance when viewed from the side.
An augmentation mastopexy may aim to:
The surgical approach will depend on several factors, including:
Real patient results from our expert procedures
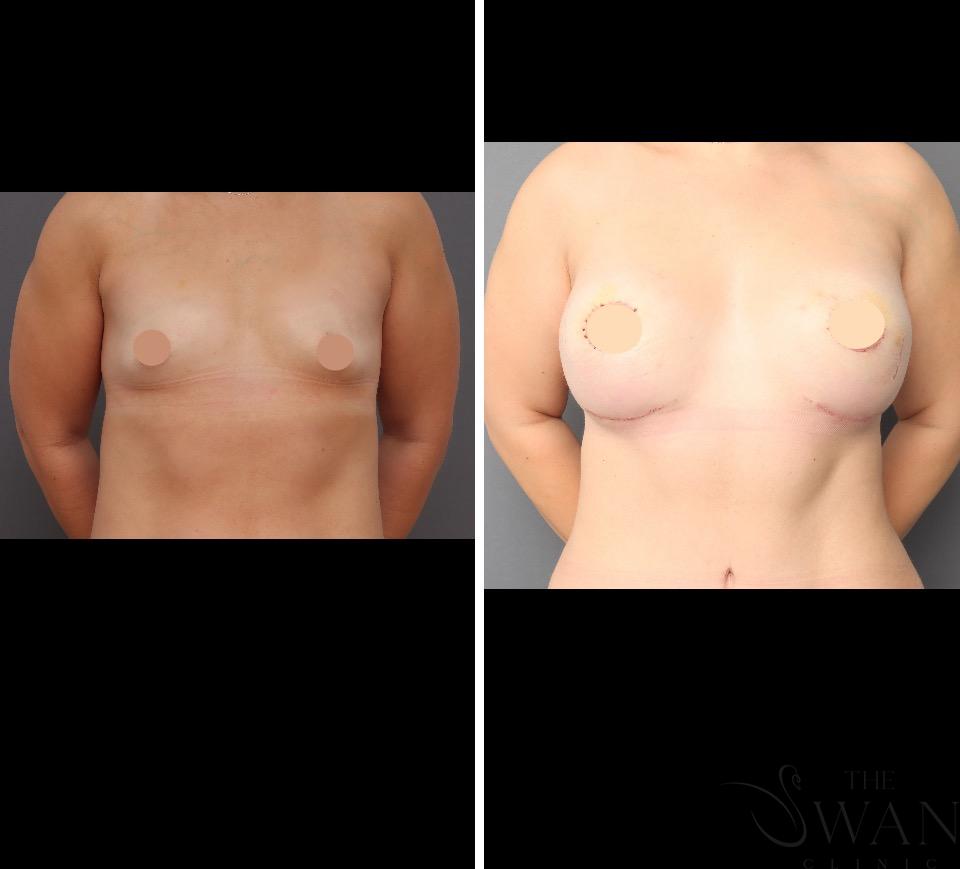
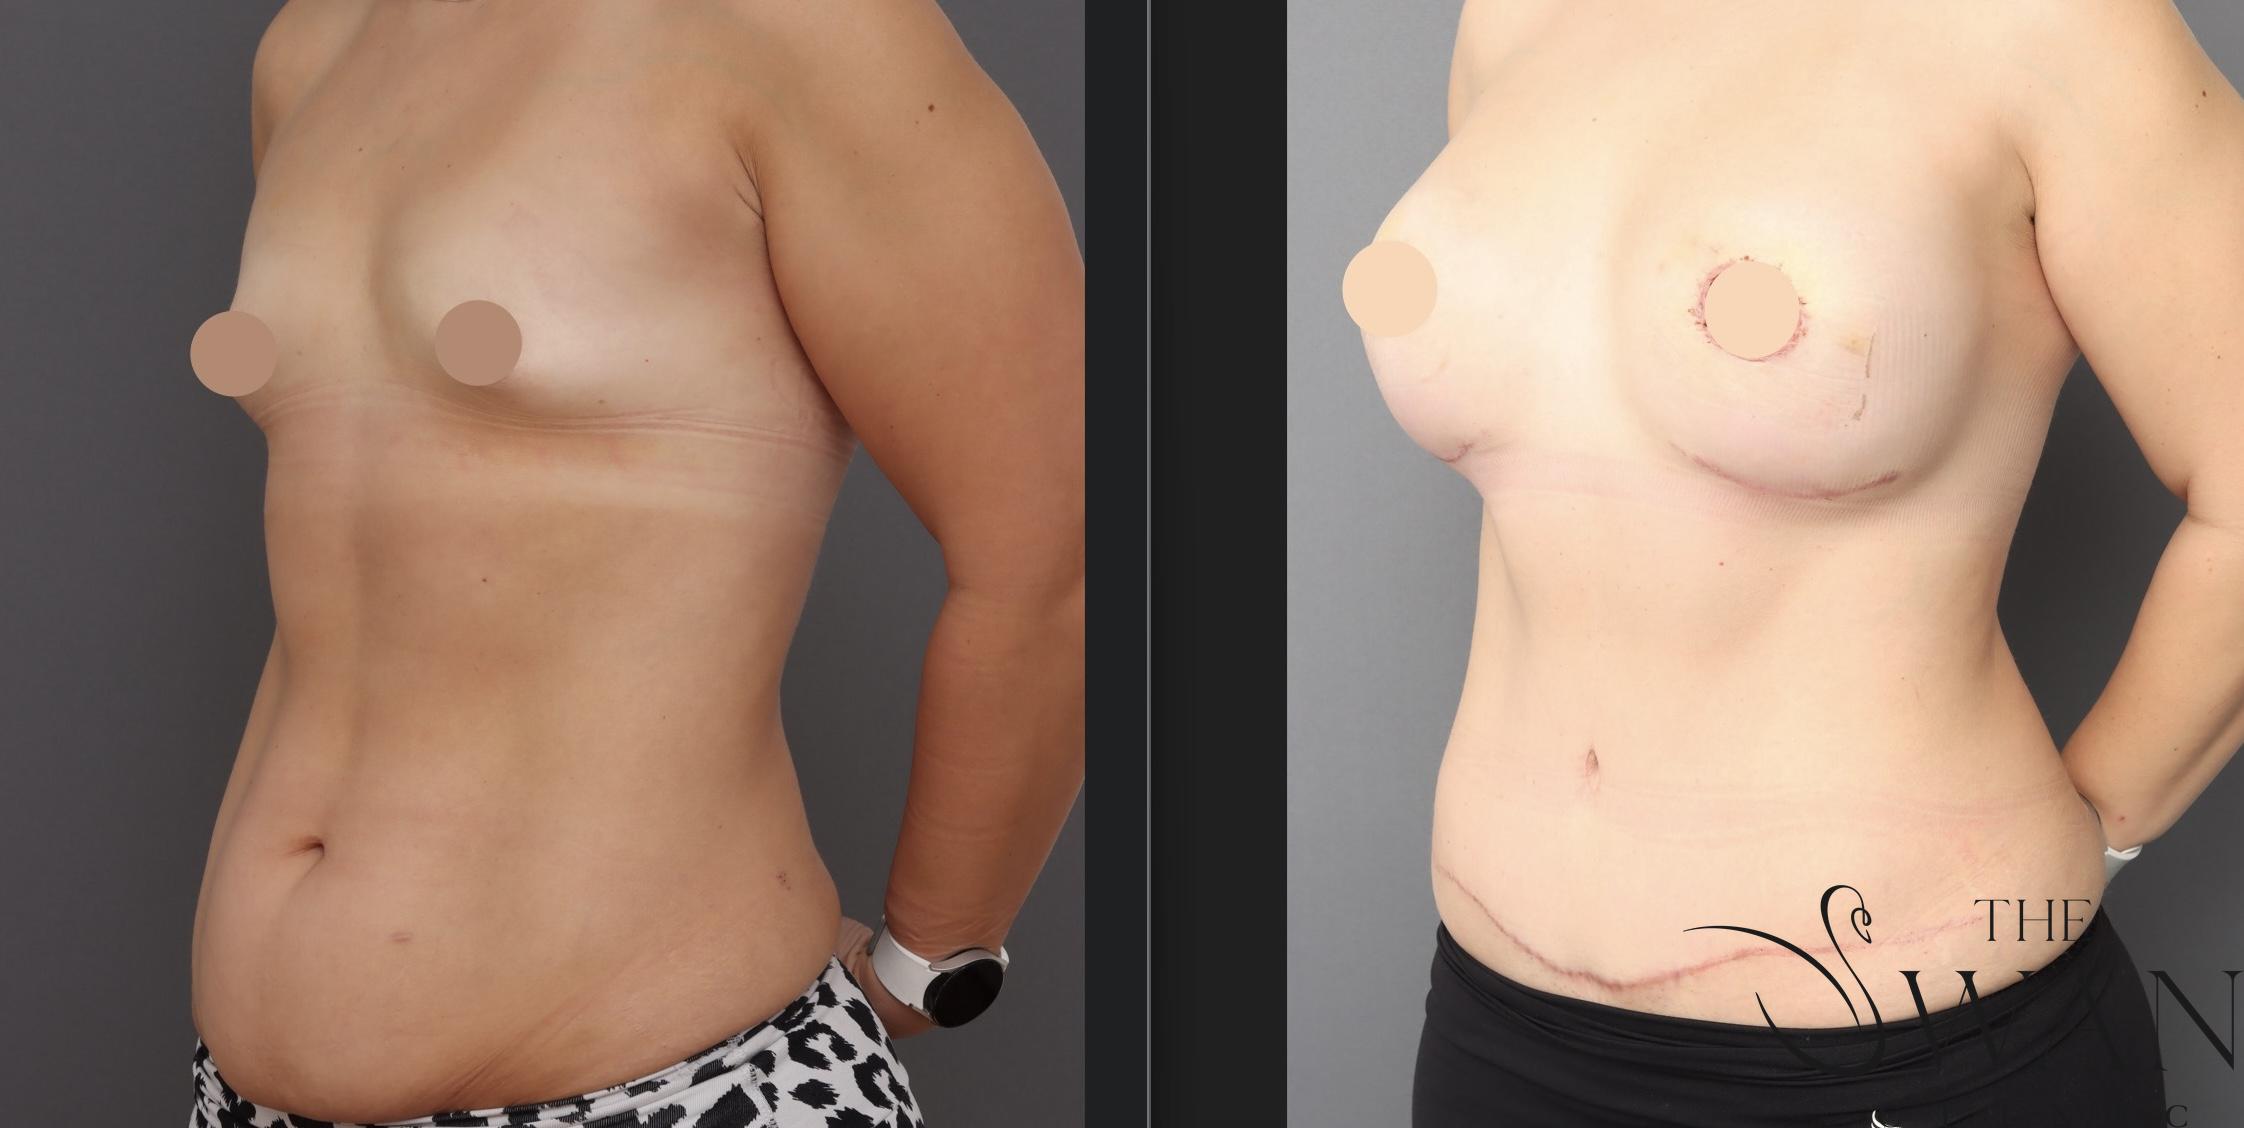
Before
After
When Breast Augmentation Alone May Be Suitable
In patients without significant ptosis, breast augmentation alone may be considered. This procedure involves the placement of an implant (round or anatomical/teardrop-shaped) to increase breast volume. Implant selection and surgical technique are based on the individual's chest anatomy, tissue characteristics, and surgical goals, which are discussed during a clinical consultation.
A simple method sometimes used during examination is the arm-raise test. If, when the arms are raised, the nipple moves to a more favourable position and the lower breast tissue appears more elevated, then augmentation alone may still be a suitable option.
In such cases, additional surgical adjustments may be needed to support the breast tissue and position the implant correctly. An anatomical (teardrop-shaped) implant may be recommended to provide a more gradual slope and better fit with the existing tissue distribution. However, the choice of implant and surgical plan should be tailored to the patient's individual anatomy and preferences after a thorough assessment.
If the nipple remains low on the chest wall when the arms are raised, and the breast tissue continues to sit below the inframammary fold, a combined procedure called an augmentation mastopexy may be indicated. This involves:
This approach allows for improved control of nipple position and soft tissue support but involves additional incisions and scarring compared to augmentation alone.
In some cases—particularly where a significant increase in breast volume is planned—a staged procedure may be advised. This means:
This approach may reduce the risk of complications such as poor wound healing, implant malposition, or excessive scar tension.
For individuals who do not wish to increase breast volume significantly, a mastopexy alone may be appropriate. In some cases, fat grafting can be used to add moderate volume using the patient’s own tissue. This may be done alone or in combination with a mastopexy, depending on the goals discussed during the consultation.
Breast augmentation mastopexy is a procedure that combines a mastopexy with the insertion of breast implants to address both loss of volume and changes in breast position. There are several surgical approaches available depending on the degree of ptosis, tissue characteristics, and individual patient factors.
This method involves elevating the breast tissue and inserting implants during the same surgery, or in two separate stages depending on clinical need.
This technique allows for adjustment of nipple position, reduction of excess skin, and increase of breast volume through implant placement.
This approach involves an incision around the areola and is typically suitable for patients with mild breast ptosis.
This procedure includes:
This method is used in cases of moderate breast ptosis and allows for removal of excess skin and reshaping of the breast tissue. Implant placement is performed in the same operation, with adjustments made to ensure appropriate implant positioning and support.
For patients with significant breast ptosis or excess skin, the anchor-shaped incision pattern may be used. This includes:
This technique allows for the most extensive skin removal and tissue repositioning. Implant insertion is performed during the same operation and tailored to the patient’s anatomical needs and surgical goals.
Best Practices in Surgery
As with any surgical procedure, breast augmentation mastopexy carries risks. These include general surgical risks as well as those specific to combined mastopexy and augmentation surgery:
If you have any questions or wish to discuss breast augmentation mastopexy options, please contact our clinic to schedule a consultation with Dr Reema Hadi.
For more information on Breast Augmentation Mastopexy, you can visit the Australian Society of Plastic Surgery
This website contains content related to surgical procedures. Please confirm you are 18 years of age or above to continue.
The following disclaimer is a requirement of AHPRA
All surgical procedures carry risks.
Before proceeding, you should seek a second opinion from an appropriately qualified health practitioner.